If you have a fire extinguisher, when’s the last time you had a professional take a look at it? Here are seven steps we follow during a fire extinguisher inspection.
Step One: Inspecting The Outside Surface Of Your Fire Extinguisher
Before diving right into the nitty-gritty of the inspection, it’s important to make sure all the parts are present and intact. This includes the hose, handle, cylinder, nozzle, pin security tag, maintenance or inspection tag, safety pin and gauge. A fire extinguisher is nothing without all of these working parts!
Step Two: Check The Maintenance & Inspection Tag
We’ll then check that the extinguisher has a maintenance or inspection tag. We’re looking to ensure the extinguisher has been inspected on a monthly basis and that no inspection has been done during the current month. Not all extinguishers have this tag on the system itself due to some owners keeping a record book.
 Step Three: Ensure The Gauge Is In The Green
 Step Three: Ensure The Gauge Is In The Green
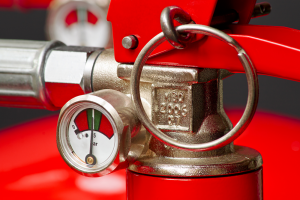
While this may sound like a golf reference, it’s also a necessary step in a fire extinguisher inspection. The gauge should have a needle that points to the green area. This lets us know that the extinguisher is fully charged and ready for action. If the arrow is pointing elsewhere, the extinguisher will likely need to be replaced or refilled.
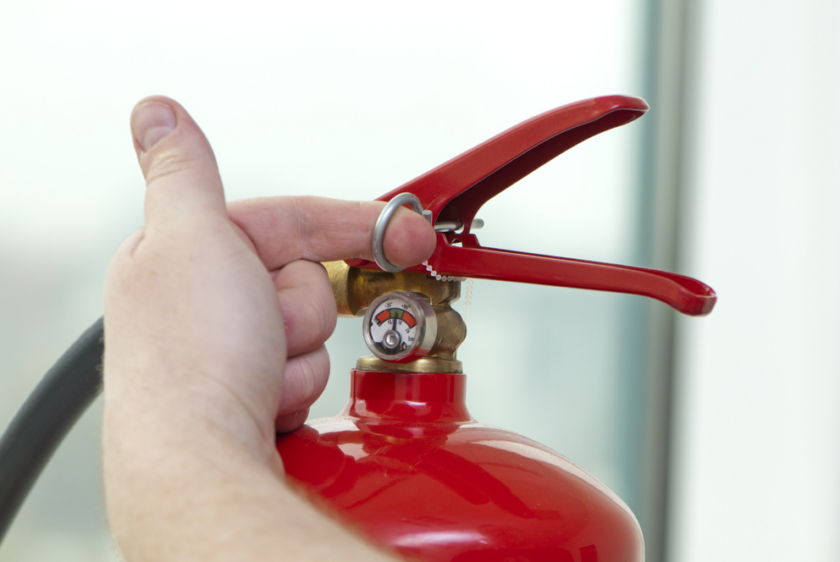
Step Four: Make Sure The Pin Is In Place
The safety pin must be in place so that the extinguisher doesn’t accidentally discharge while being inspected. You may have an extinguisher that has a plastic security tag to keep the pin from falling out, but regardless, as long as your pin isn’t missing or out of place, your extinguisher should be good to go.
Step Five: Hefting
All of the previous steps could pass the test, but if your extinguisher is empty, we’ll have a problem. To ensure your extinguisher is full, we pick it up to feel the weight of the agent inside. If we can’t feel the agent moving, it could indicate that your system is old or empty. Either way, we’d know your extinguisher needs to be replaced.
Step Six: Checking For Dents & Damage
What appears on the surface is important in a fire extinguisher inspection. If we see any dents, corrosion, punctures or any kind of physical damage, it’s a sure indicator that you need a new system. Operating a fire extinguisher with even a baby dent can be extremely dangerous depending on how the system reacts. Let’s avoid an explosion at all costs, shall we?
Step Seven: Check The Hose & Label
During this step, we’re checking to make sure the hose doesn’t have any cracks or breaks. We wouldn’t want a faulty hose to be the reason your extinguisher can’t operate, so if we find any damage, the hose will need to be replaced. It’s also important that the operating instructions on the outside of the extinguisher are legible. If they aren’t, it may be time to replace your extinguisher.
If you think you’re due for a fire extinguisher inspection, allow the professionals to come take a look. Contact us today to schedule an appointment!